When it comes to nail designs, ombre options have held their own popularity next to full color and a classic french tip for decades. You can choose a color gradient palette that features bold or neon colors just as easily as something soft and muted so you can make the vibes as bold or as subtle as you like.
When it comes to doing your own DIY ombre nails, it’s actually a lot easier than you think and I’ll show you my secret tool that makes it so much easier! We’ve got an easy to follow step by step guide and tutorial video so you can follow along to create your own perfect ombre manicure without a trip to the nail salon. We’ve also got ombre design ideas to inspire your next mani as well!
Looking for nail art design ideas? Check out these posts for inspiration:

Can you use regular nail polish for ombre designs?
You can give the method for ombre nails a try with regular polish, but because that polish starts to dry as soon as you apply it, it’s harder to get as smooth of a gradient as you can with the gel polish that stays wet until you set it. It’s also nice that you can remove any mistakes you make with the gel polish with an alcohol wipe as long as you haven’t set that layer under a lamp yet, while regular polish is basically going to have to stay where you put it unless you want to start the nail over again.
To try it with regular polish, you’ll just need your two polish colors, a palette, and a sponge brush or makeup sponge and allow the layers to dry between adding on more ombre layers. Set with a top coat when finished.


1.) Prep your hands and nails with an at-home manicure and apply your gel base coat and two layers of your base color with proper cure time between each coat (check out this post for step-by-step instructions on doing gel nails at home).
2.) Add a very small amount of your second color to your gel polish palette.


3.) Use your rounded ombre brush head to dab the dot of polish around your palette until you can barely see the color making a mark on the palette anymore. You really want the lightest amount of polish possible and that’s the other secret to a great ombre…lots of very light layers rather than trying to do it all in one go.
4.) Starting at the tip of your nail, dab the sponge very lightly onto the tip of the nail and work your way down to at least the midway point of the nail (you can go 2/3 of the way down for a longer ombre effect). It should leave a very faint layer of color and goal is to get a very light and very even coat in that shade.
If you dab any gel polish on your skin, make sure to remove it with a brush dipped in alcohol before setting, and if you aren’t happy with your layer, you can use alcohol and a lint-free wipe to remove the polish and start again.


5.) When you are happy with your layer, set it under your light for 30-60 seconds.
6.) Repeat the process again with more gel polish (or just keep using what’s left on your sponge until that runs out) and do several layers of very light color (setting the nail after each later) stopping higher and higher up on the nail until you are just adding color to the very tip of the nail so that appears the darkest.


7.) Add your topcoat, capping the free edge of your nail, and set for the amount recommended by your brand of light (usually 60-90 seconds).
8.) Add cuticle oil around your nails if you like and enjoy your new ombre manicure!

TIP: You can do a vertical gradient (color changes from top of nail to bottom of nail), or you can also do a horizontal gradient so the color changes from left to right.
How do you do Baby Boomer ombre nails?
A popular twist on a classic french manicure, the Baby Boomer nail trend uses a base of nude polish and then an added ombre effect with gradient white tips that fade to the bottom of the nails, like a french ombre, rather than use the hard line of the french manicure.
To achieve that look, simply follow the steps above using a nude color base and white for your ombre color.

Ombre nail design ideas:

Winter Blues
This ombre baby blue turns to a fresh white polish with this pretty manicure.
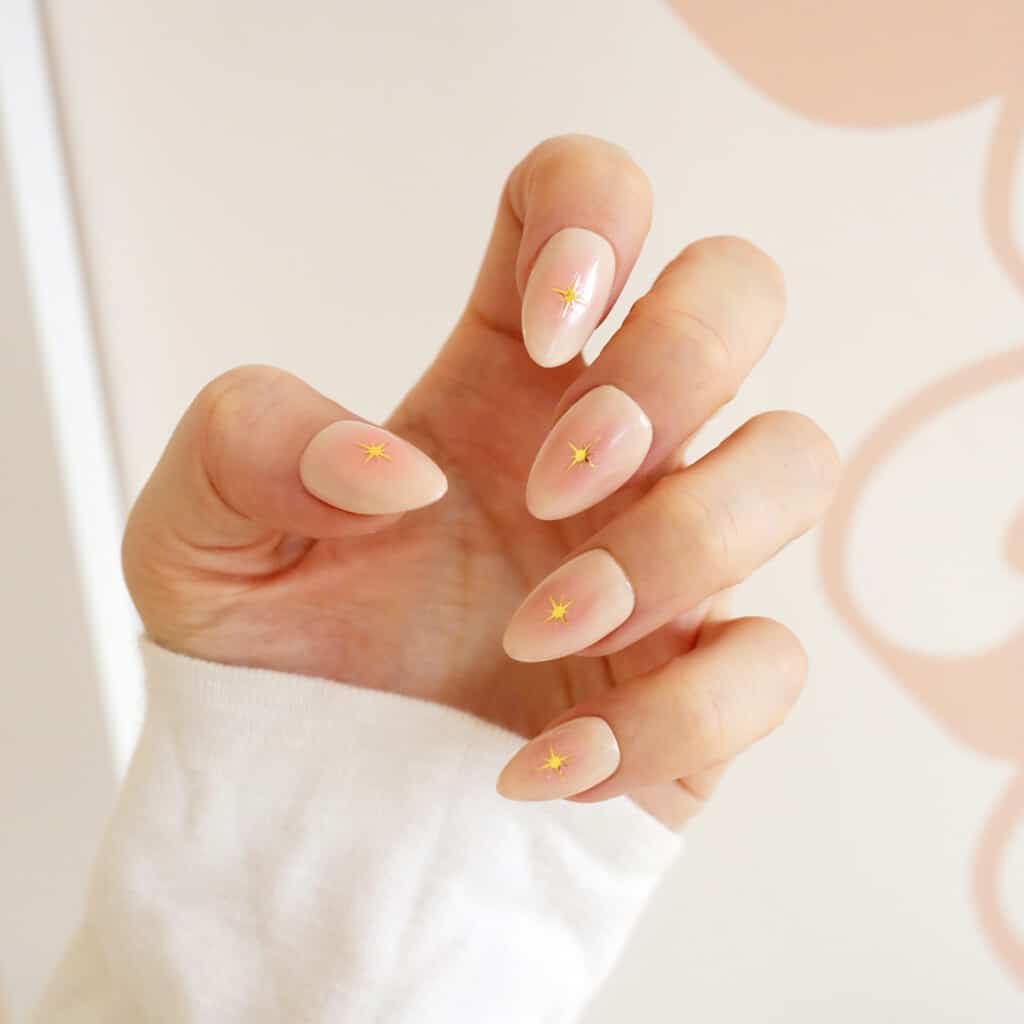
Pumpkin Glow
Ombre center pumpkin chrome nails are the perfect amount of trendy color.
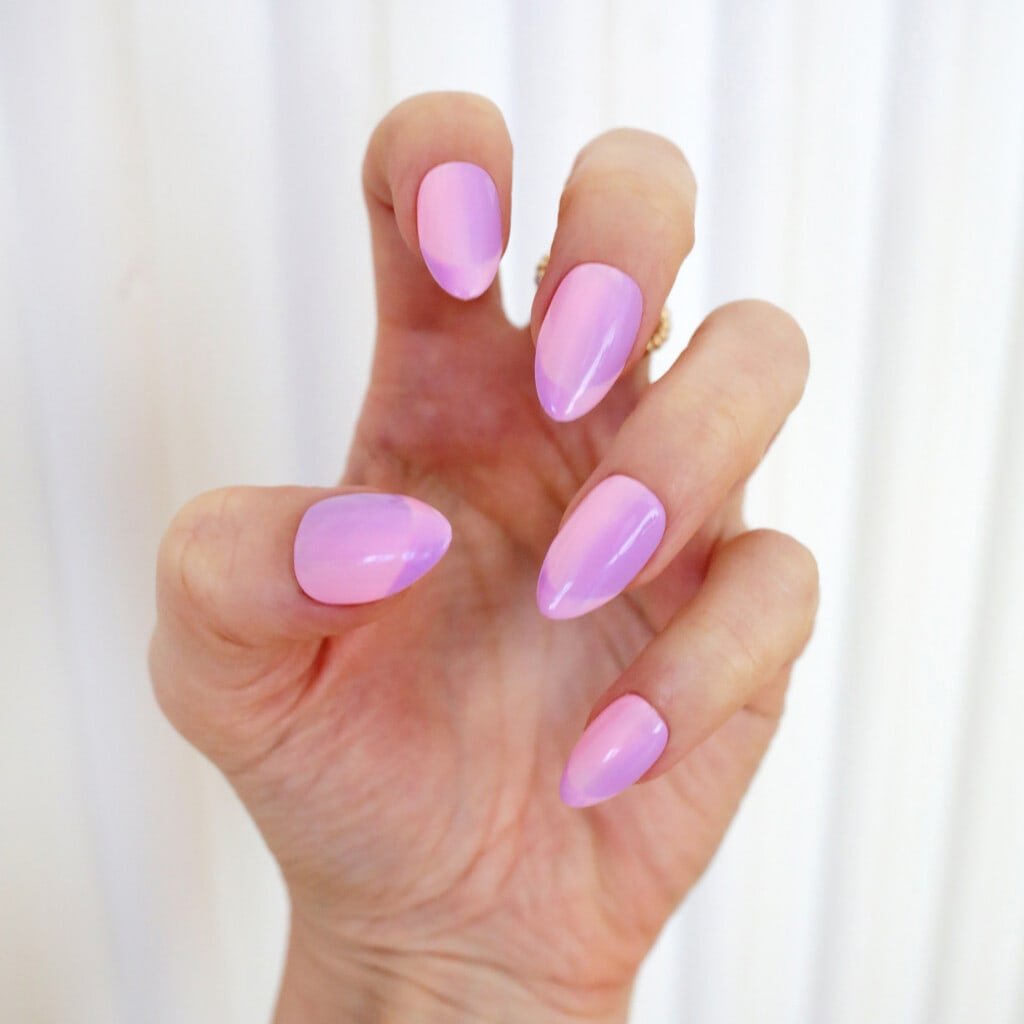
Spring Barbie
Try the hot trend of a reverse optical illusion French manicure uses ombre shades in the perfect pink and purple pastels.

All That Glitters
These glitter ombre nails will bring just the right amount of sparkle to any outfit.

Sparkle Black French
Adding some ombre sparkle under a black French tip manicure brings some fun into a classic look.

Taupe Ombre
These taupe ombre cat eye glitter nails are neutrals but come to life when the light hits them.

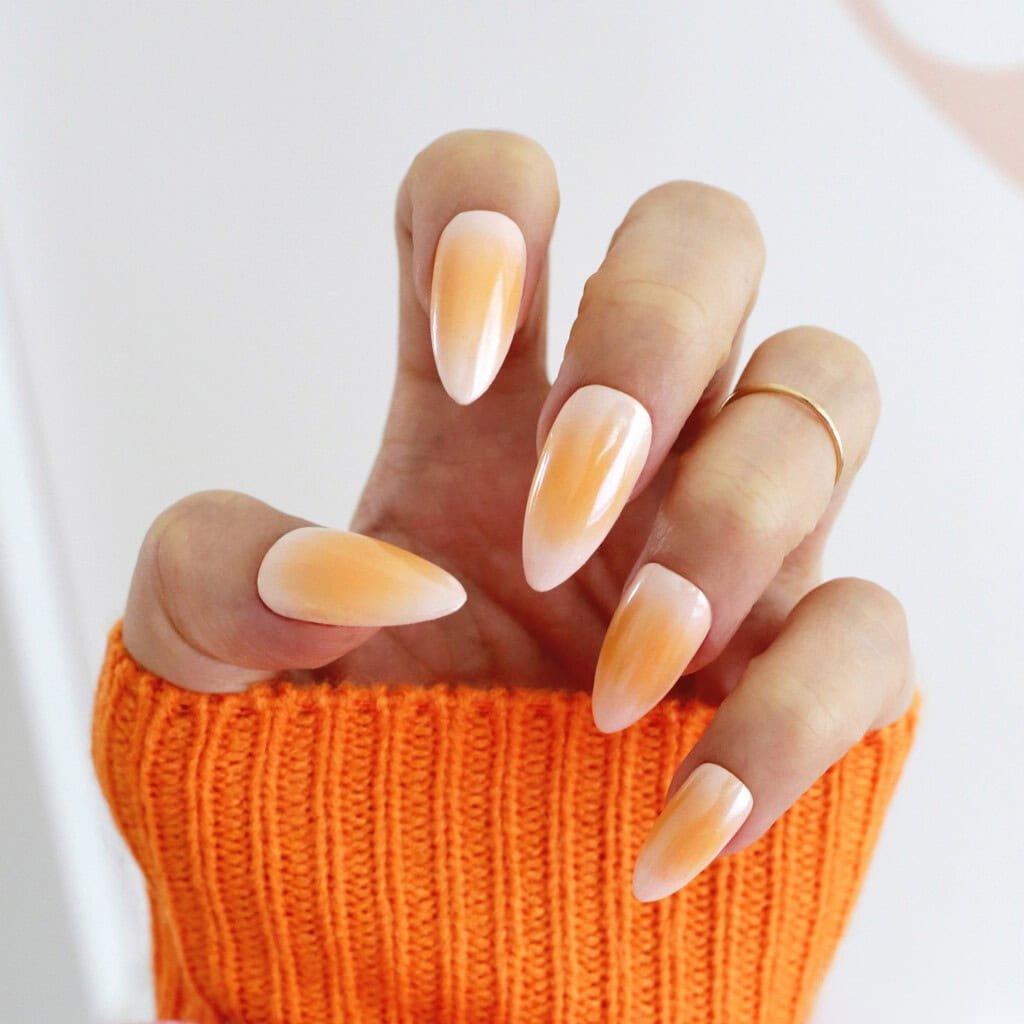
Orange Ombre
Orange ombre nails with layer of black sparkle webs are the perfect look for your fall Halloween season.